
[mediapipe_face_mesh] Face mesh Detection Flutter Package 개발
mediapipe_face_mesh
face mesh 모델을 사용하는 Flutter 패키지로 google_mlkit_face_mesh_detection 이 있다.
MLKit 기반이며, MLKit face mesh(iOS)가 아직 지원되지 않아 해당 패키지도 iOS를 지원하지 않는다.
패키지명: mediapipe_face_mesh
이런저런 이유로 직접 만들었다.
iOS/Android를 지원하며 LiteRT(TFLite)를 C/C++ 레벨에서 사용하여 성능을 챙기고, 별도 의존성이 없다.
https://pub.dev/packages/mediapipe_face_mesh
mediapipe_face_mesh | Flutter package
Flutter plugin for MediaPipe Face Mesh inference on Android/iOS, supporting RGBA and NV21 inputs via an FFI-powered TFLite core.
pub.dev
FFI Plugin 프로젝트로 주요 로직을 C++로 구현하고 Dart FFI로 호출한다.
C++ 로직은 iOS/Android 동일하게 사용할 수 있다.
Google MediaPipe의 Face mesh 모델을 사용한다.
현재(발행일 기준) Face Mesh 기능을 제공하며, Face Detection 기능을 제공하진 않는다.
(+ 26.04.27)
detection) short-range 지원 (full-range sparse/dense 모델 추가 예정)
mesh) 468 랜드마크 모델 지원 (iris 모델 추가 예정)
2가지 사용 방법이 있다.
- 패키지 제공 Detection / Mesh
- 외부 Detection (google_mlkit_face_detection) + 패키지 제공 Mesh
※ google_mlkit_face_detection 은 iOS/Android를 지원한다.
첫 번째 방식을 추천한다. 성능이 더 좋다.
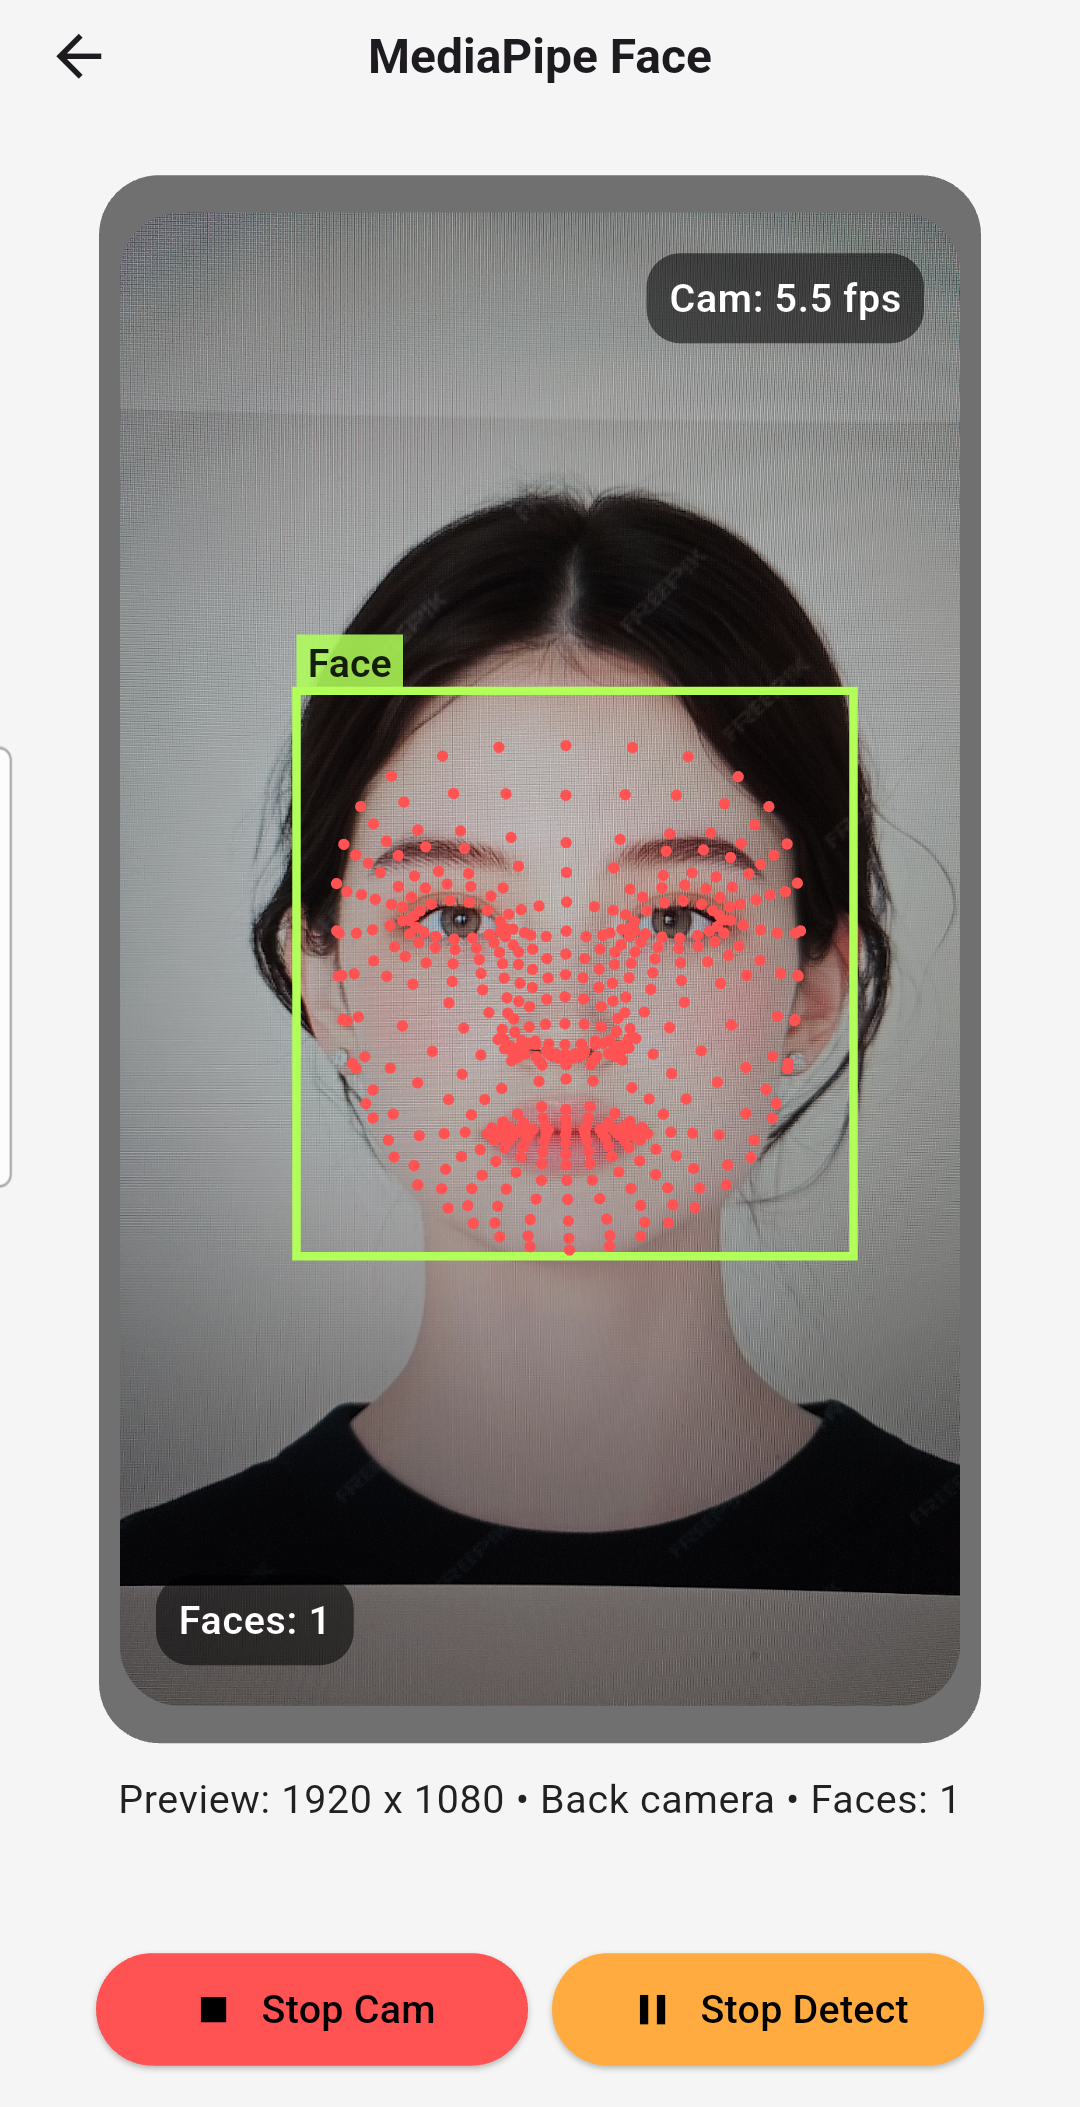
예제는 모두 카메라 스트림에서 시작한다.
CameraImage → Face bounding box → Face Mesh 흐름.
TFLite(LiteRT)
Model
https://github.com/google-ai-edge/mediapipe/blob/master/docs/solutions/models.md
mediapipe repo에서 제공하는 tflite 모델을 사용한다.
Build TFLite C API
LiteRT = TFLite 새 이름이다.
TFLite를 C 환경에서 사용하기 위해, 플랫폼에 맞는 TFLite C API 바이너리를 빌드한다.
iOS와 Android는 운영체제, 런타임 로더, CPU 아키텍처(ABI), 기본 C/C++ 표준 라이브러리까지 서로 다르기 때문에 별도의 빌드 산출물이 필요하다.
TFLite C API Headers & Bindings
TFLite의 실제 구현은 빌드된 바이너리 내부에 포함되어 있으며, 런타임에 동적으로 로드하여 사용한다.
이때 C API를 사용하기 위해 필요한 함수 선언과 구조체 정의는 헤더 파일을 통해 제공된다.
https://github.com/tensorflow/tensorflow/tree/master/tensorflow
필요한 헤더는 TensorFlow repository에서 가져와 사용한다.
Structure
create: TFLite Runtime 초기화
process: preprocess → inference → postprocess
- 위 로직을 Cpp로 구현한다. pre/post process는 이미지 처리, 텐서 처리, 상태 관리 등의 작업을 수행한다.
- `ffigen.yaml` 으로 바인딩(`bindings.dart`)을 생성하고 Cpp 로직을 Dart에서 호출한다.
- 사용자는 코어 로직(Cpp)을 직접 호출하지 않고, 노출된 Dart API 를 통해 기능을 사용한다.
그래서 호출 흐름은 다음과 같다.
Dart API → FFI bindings → Cpp core → FFI bindings → Dart API
FFI bindings는 C/C++ 네이티브 함수를 Dart에서 호출할 수 있도록 인터페이스를 정의한 코드이다.
Usage
(+ 26.04.27)
https://pub.dev/packages/mediapipe_face_mesh
최신 Release 문서를 참고
(프로젝트 관련 문의나 issue 제기는 언제든 환영합니다.😄)
Example
https://github.com/cornpip/mediapipe_face_mesh/tree/master/example
패키지(mediapipe_face_mesh) repository에 포함된 example 폴더
'mobile > SDKs & Plugins' 카테고리의 다른 글
| [flutter_ffi_uvc] Flutter USB Camera (0) | 2026.04.15 |
|---|